Gen AI(Open Source Models) with Comfy UI
Generative AI
Gen AI - Brief Introduction
Generative AI, also called Gen AI, is a type of AI that creates new content which includes Images, Videos, Code etc.
I’ll dive into AI subsets and architectures in a future blog. Today, we’re focusing on deploying open-source models like Qwen and Wan 2.2 using ComfyUI. By hosting these yourself, you can generate high-quality outputs : text-to-image and text-to-video etc. All this without paying a monthly subscription to the major providers. While I’ll be using Akamai (Linode) for this demo, these steps will work on almost any cloud provider.
Prerequisites
Login to cloud.linode.com
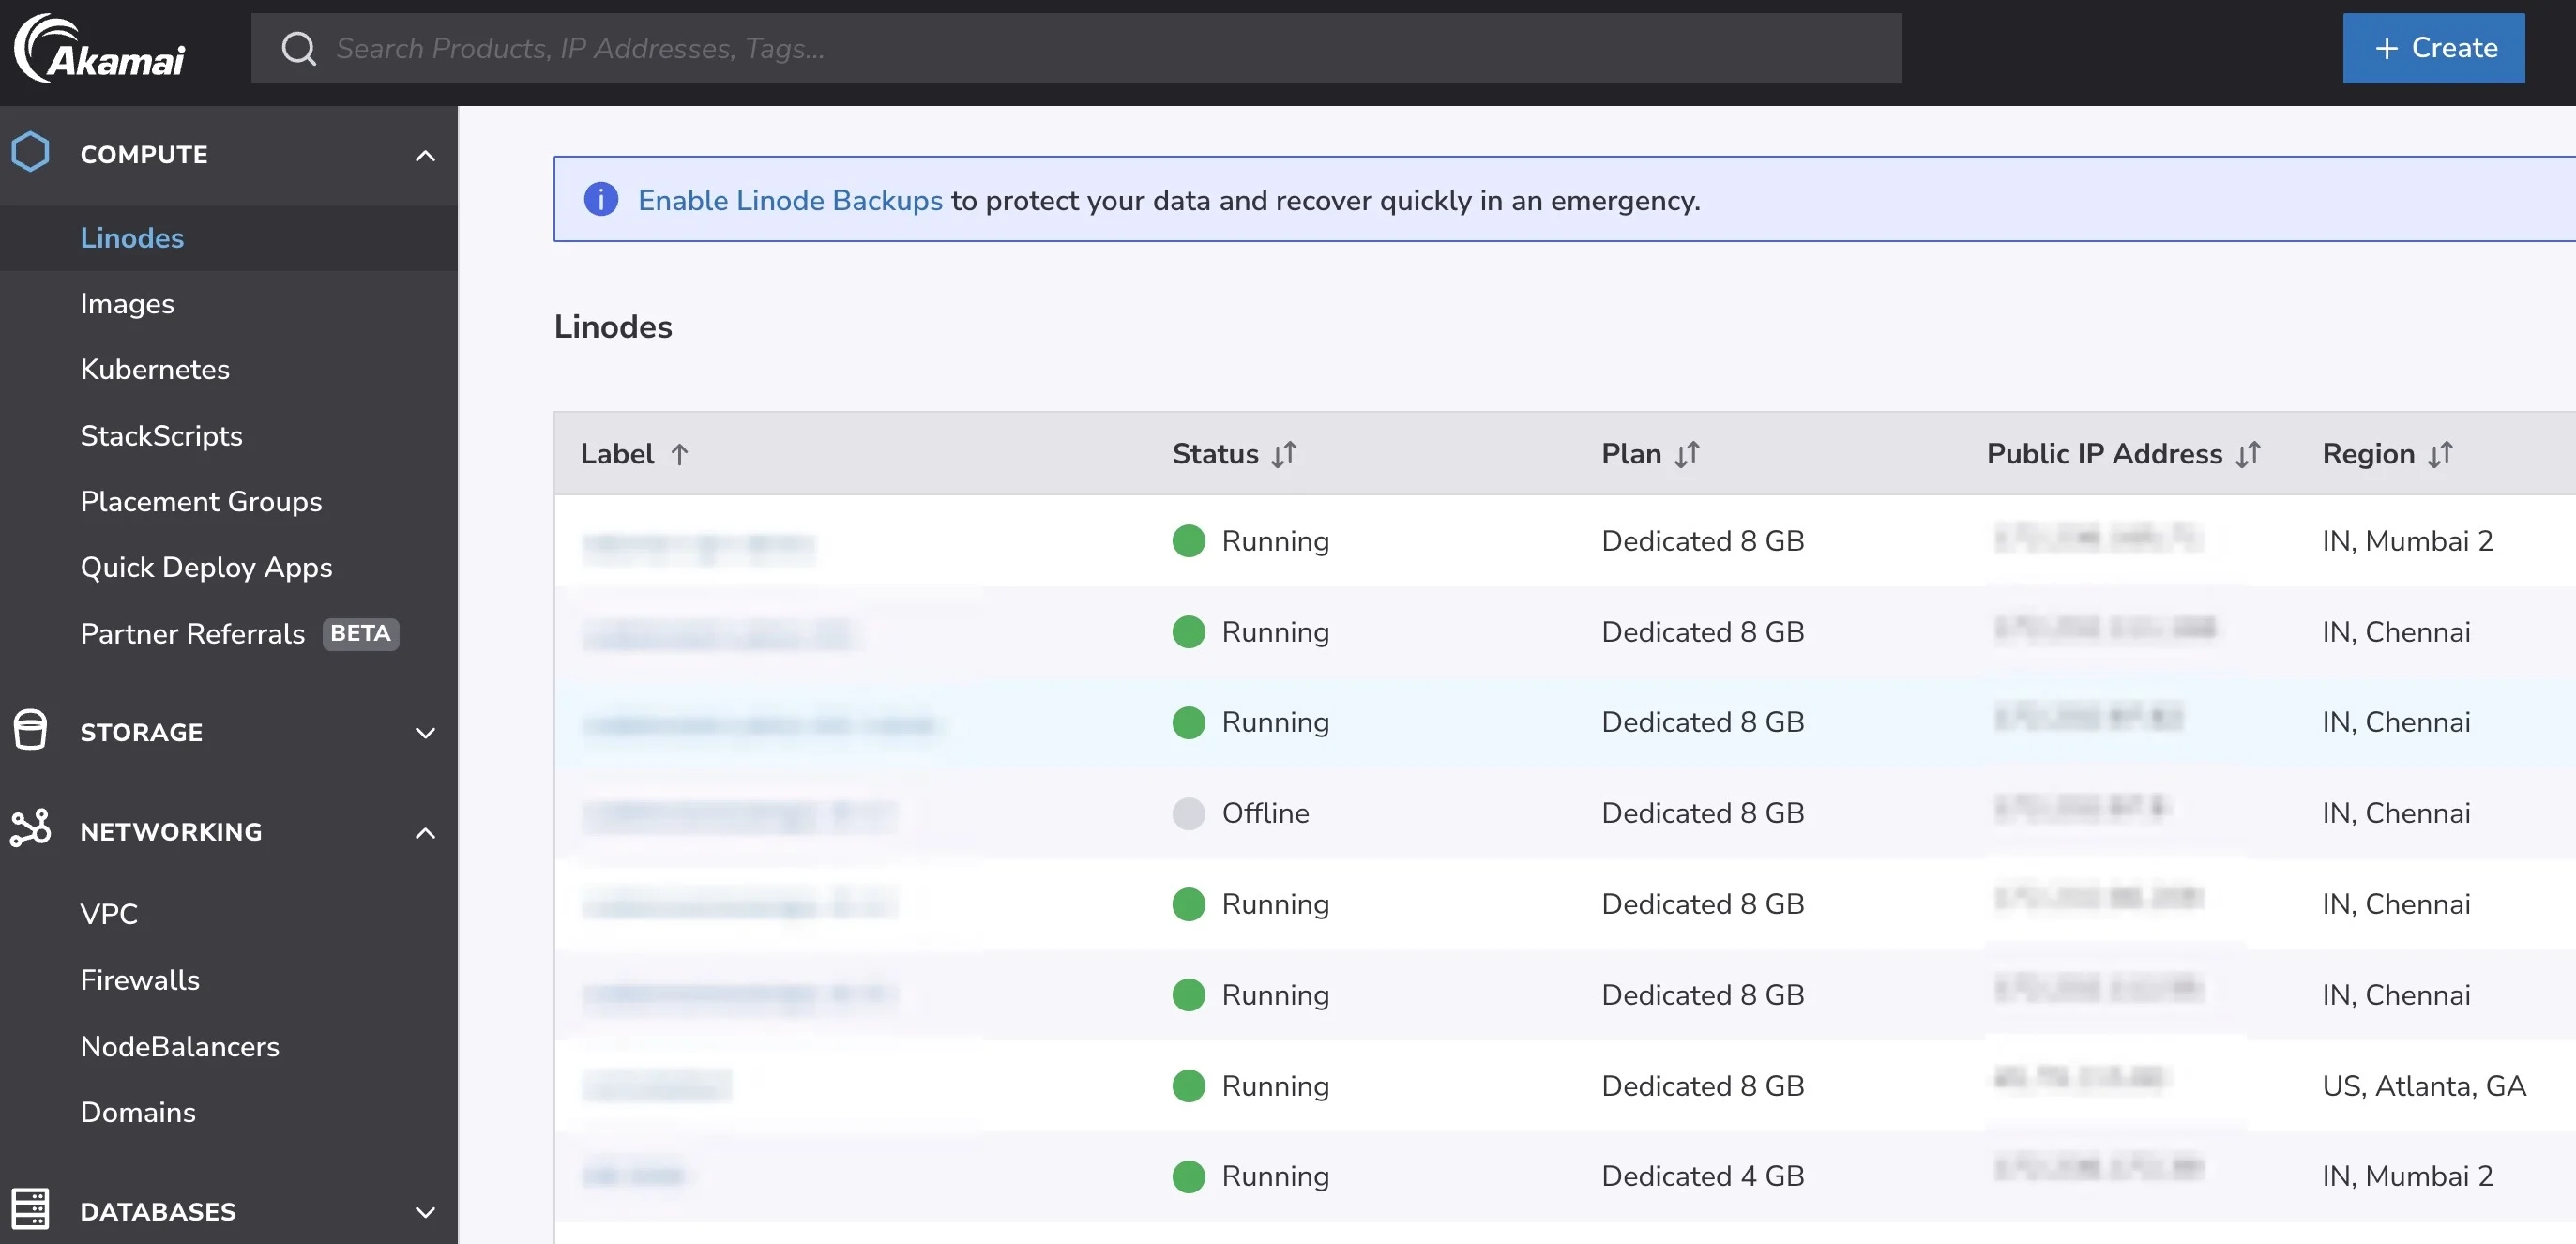
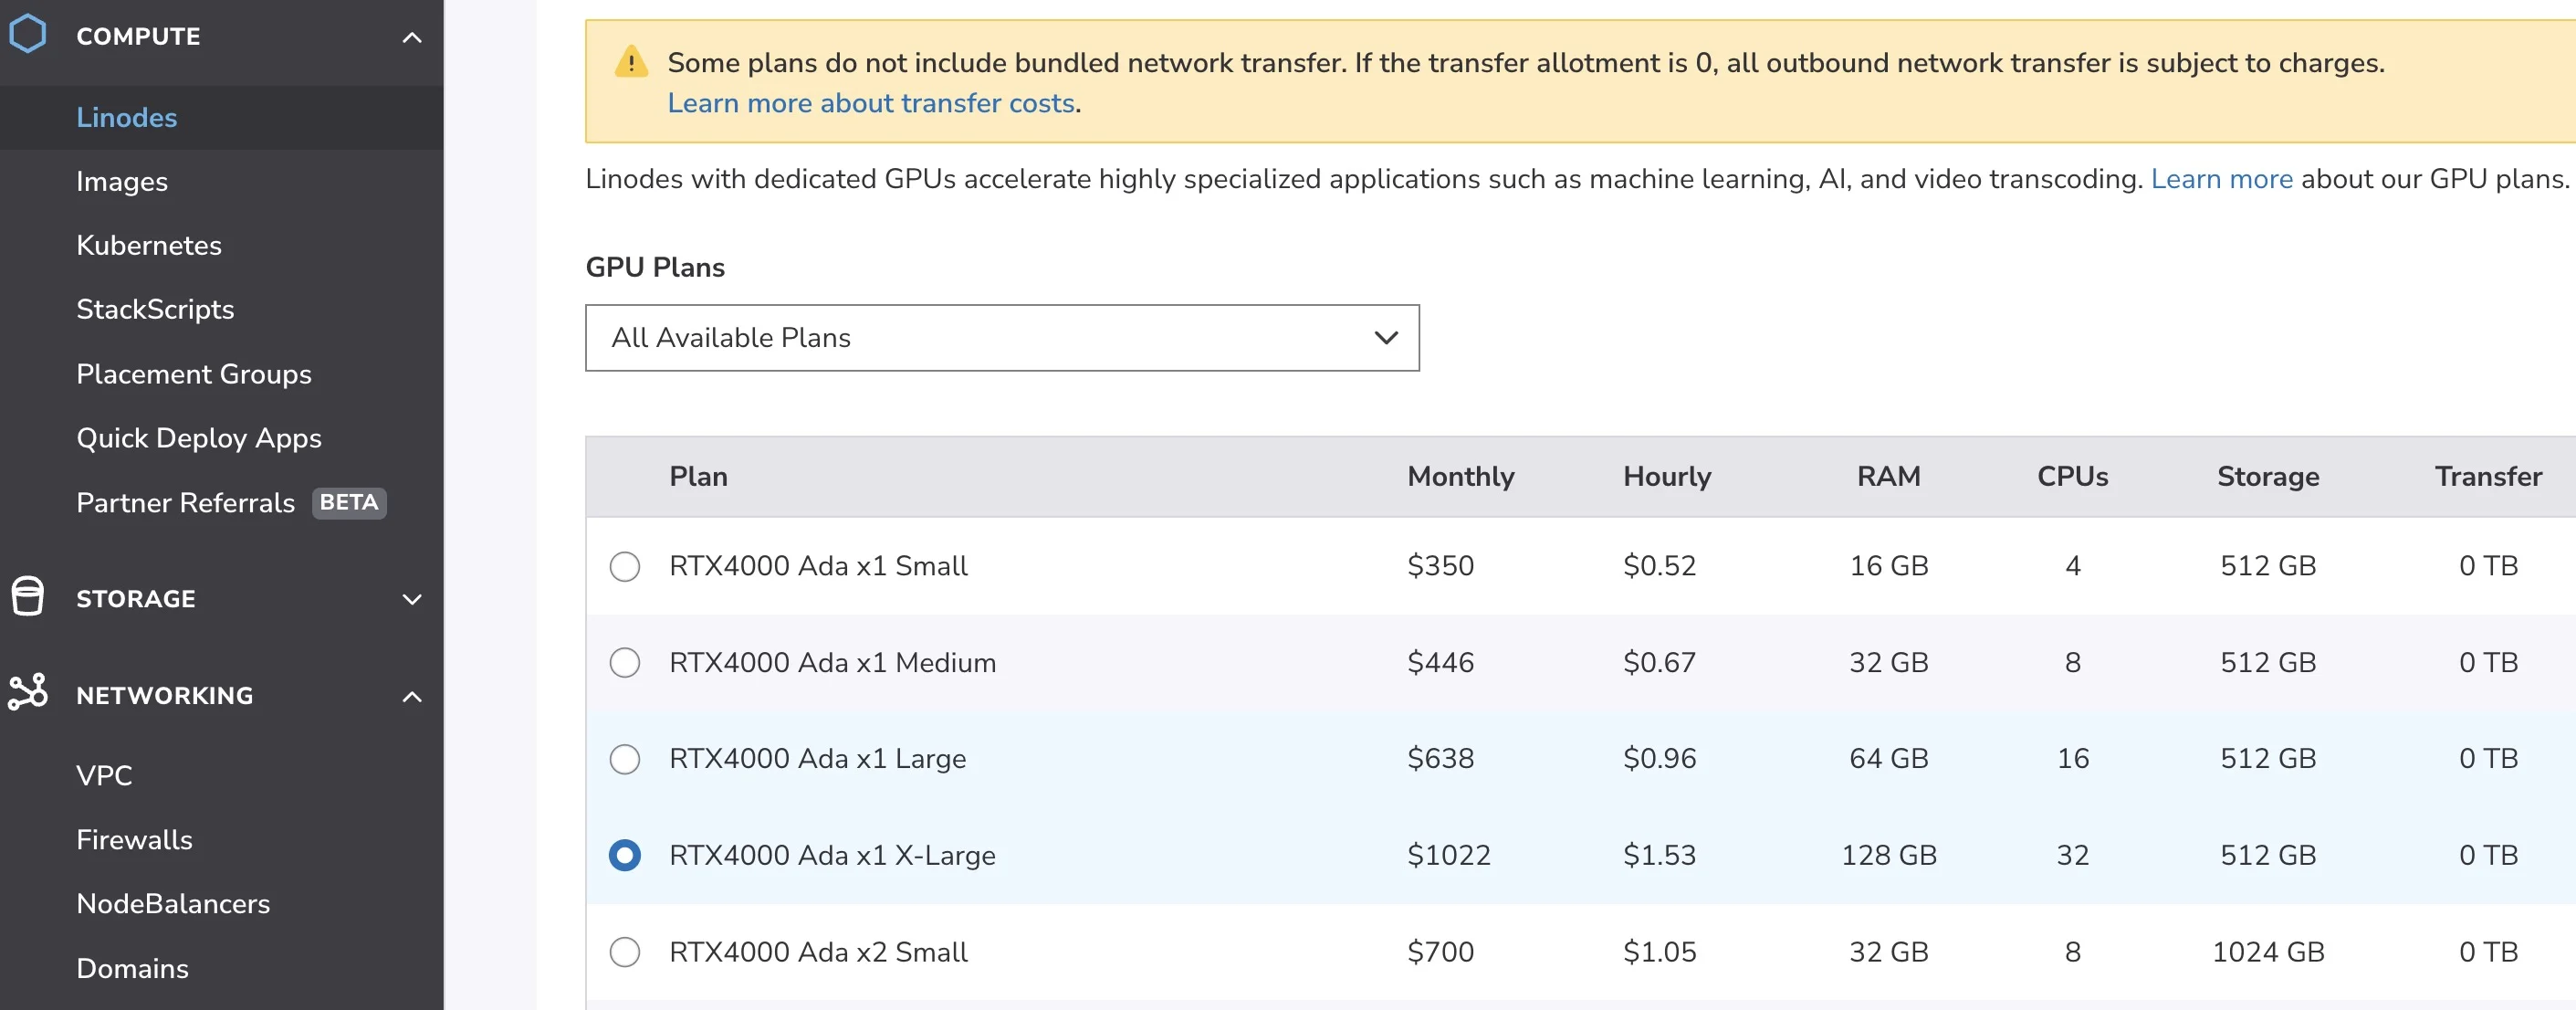
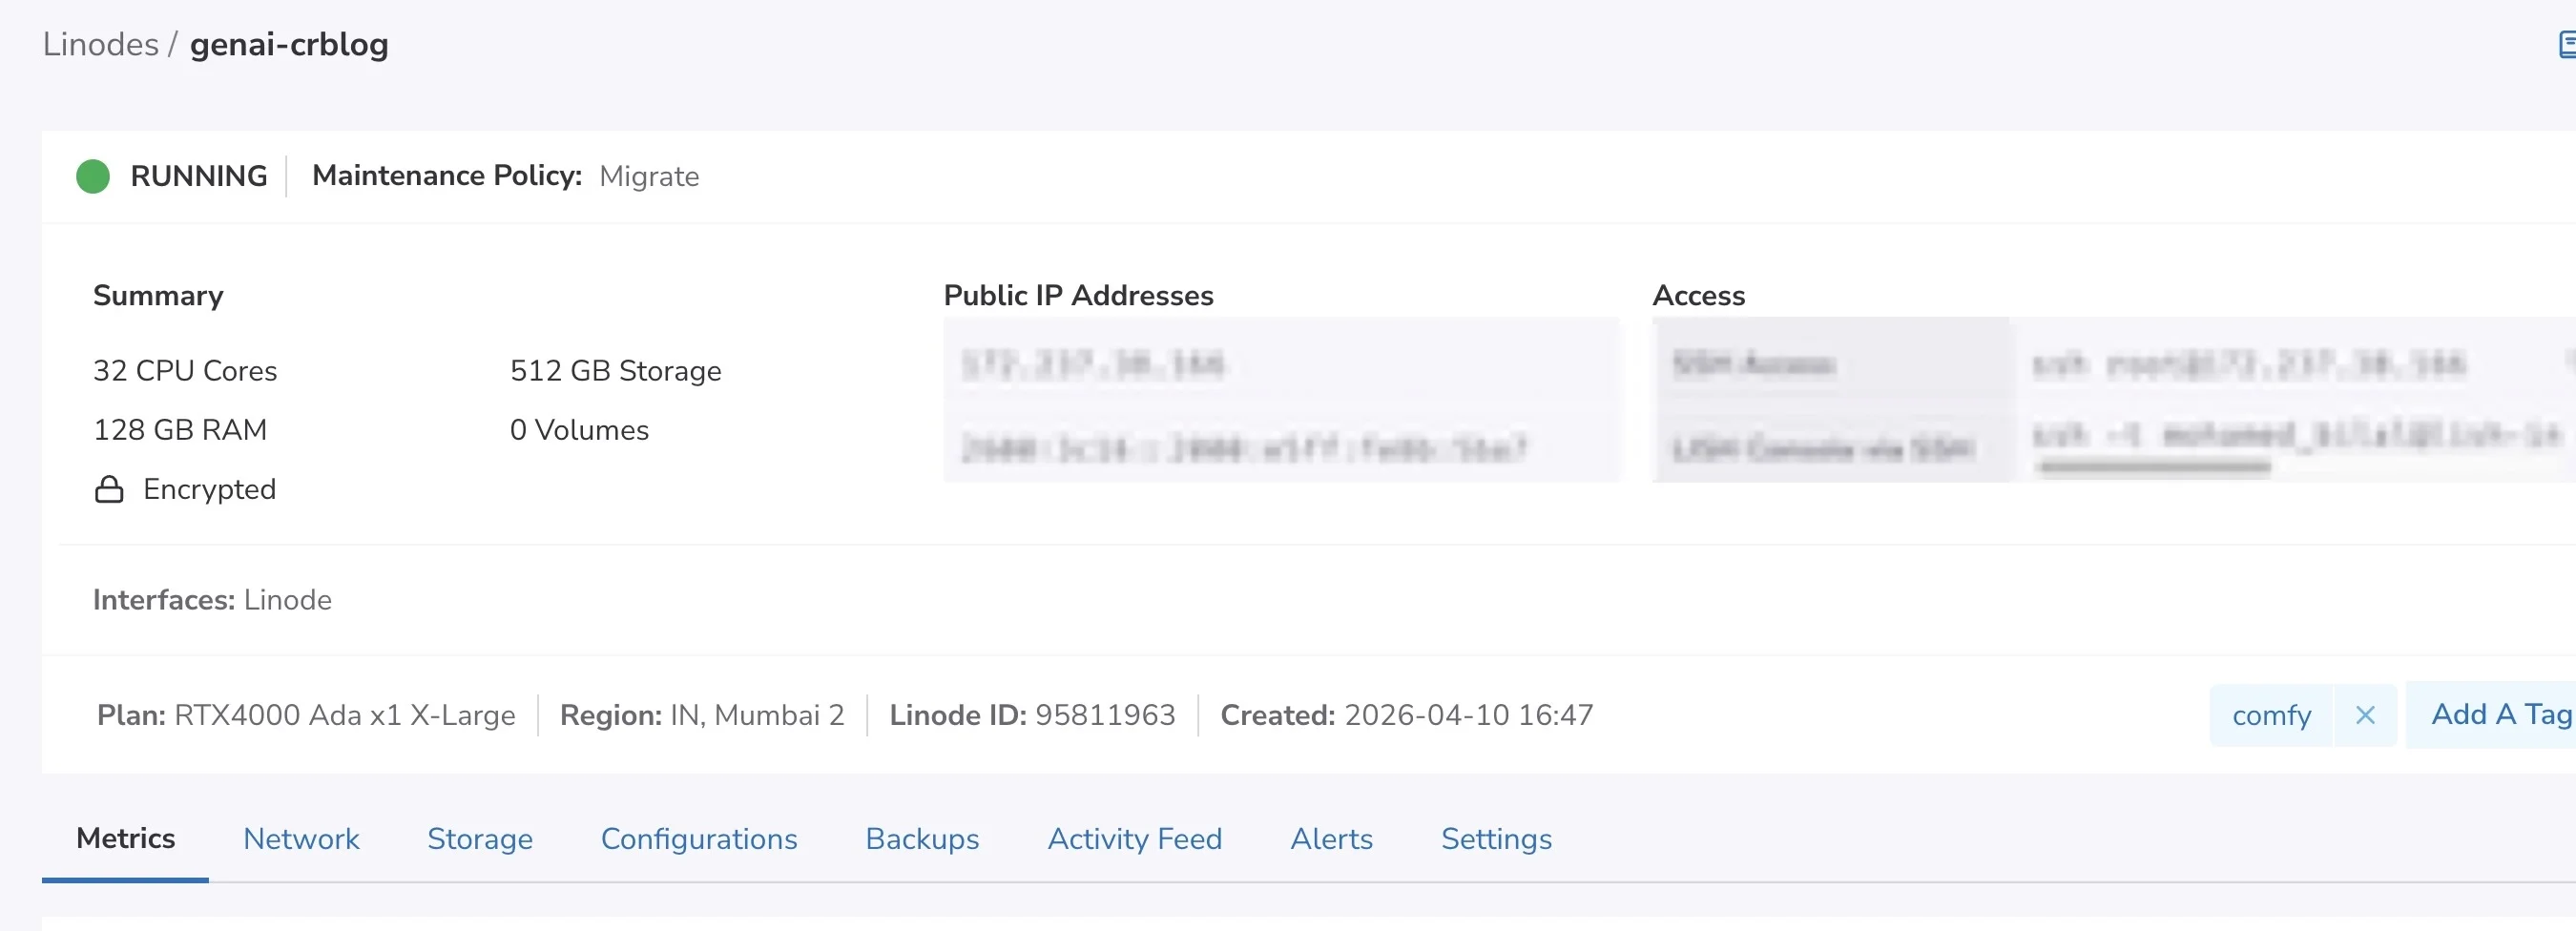
Create a VM, Select the desired GPU instance type and location. I have selected the following :
- Location : Mumbai
- OS : Ubuntu
- GPU : RTX 4000
VM is ready
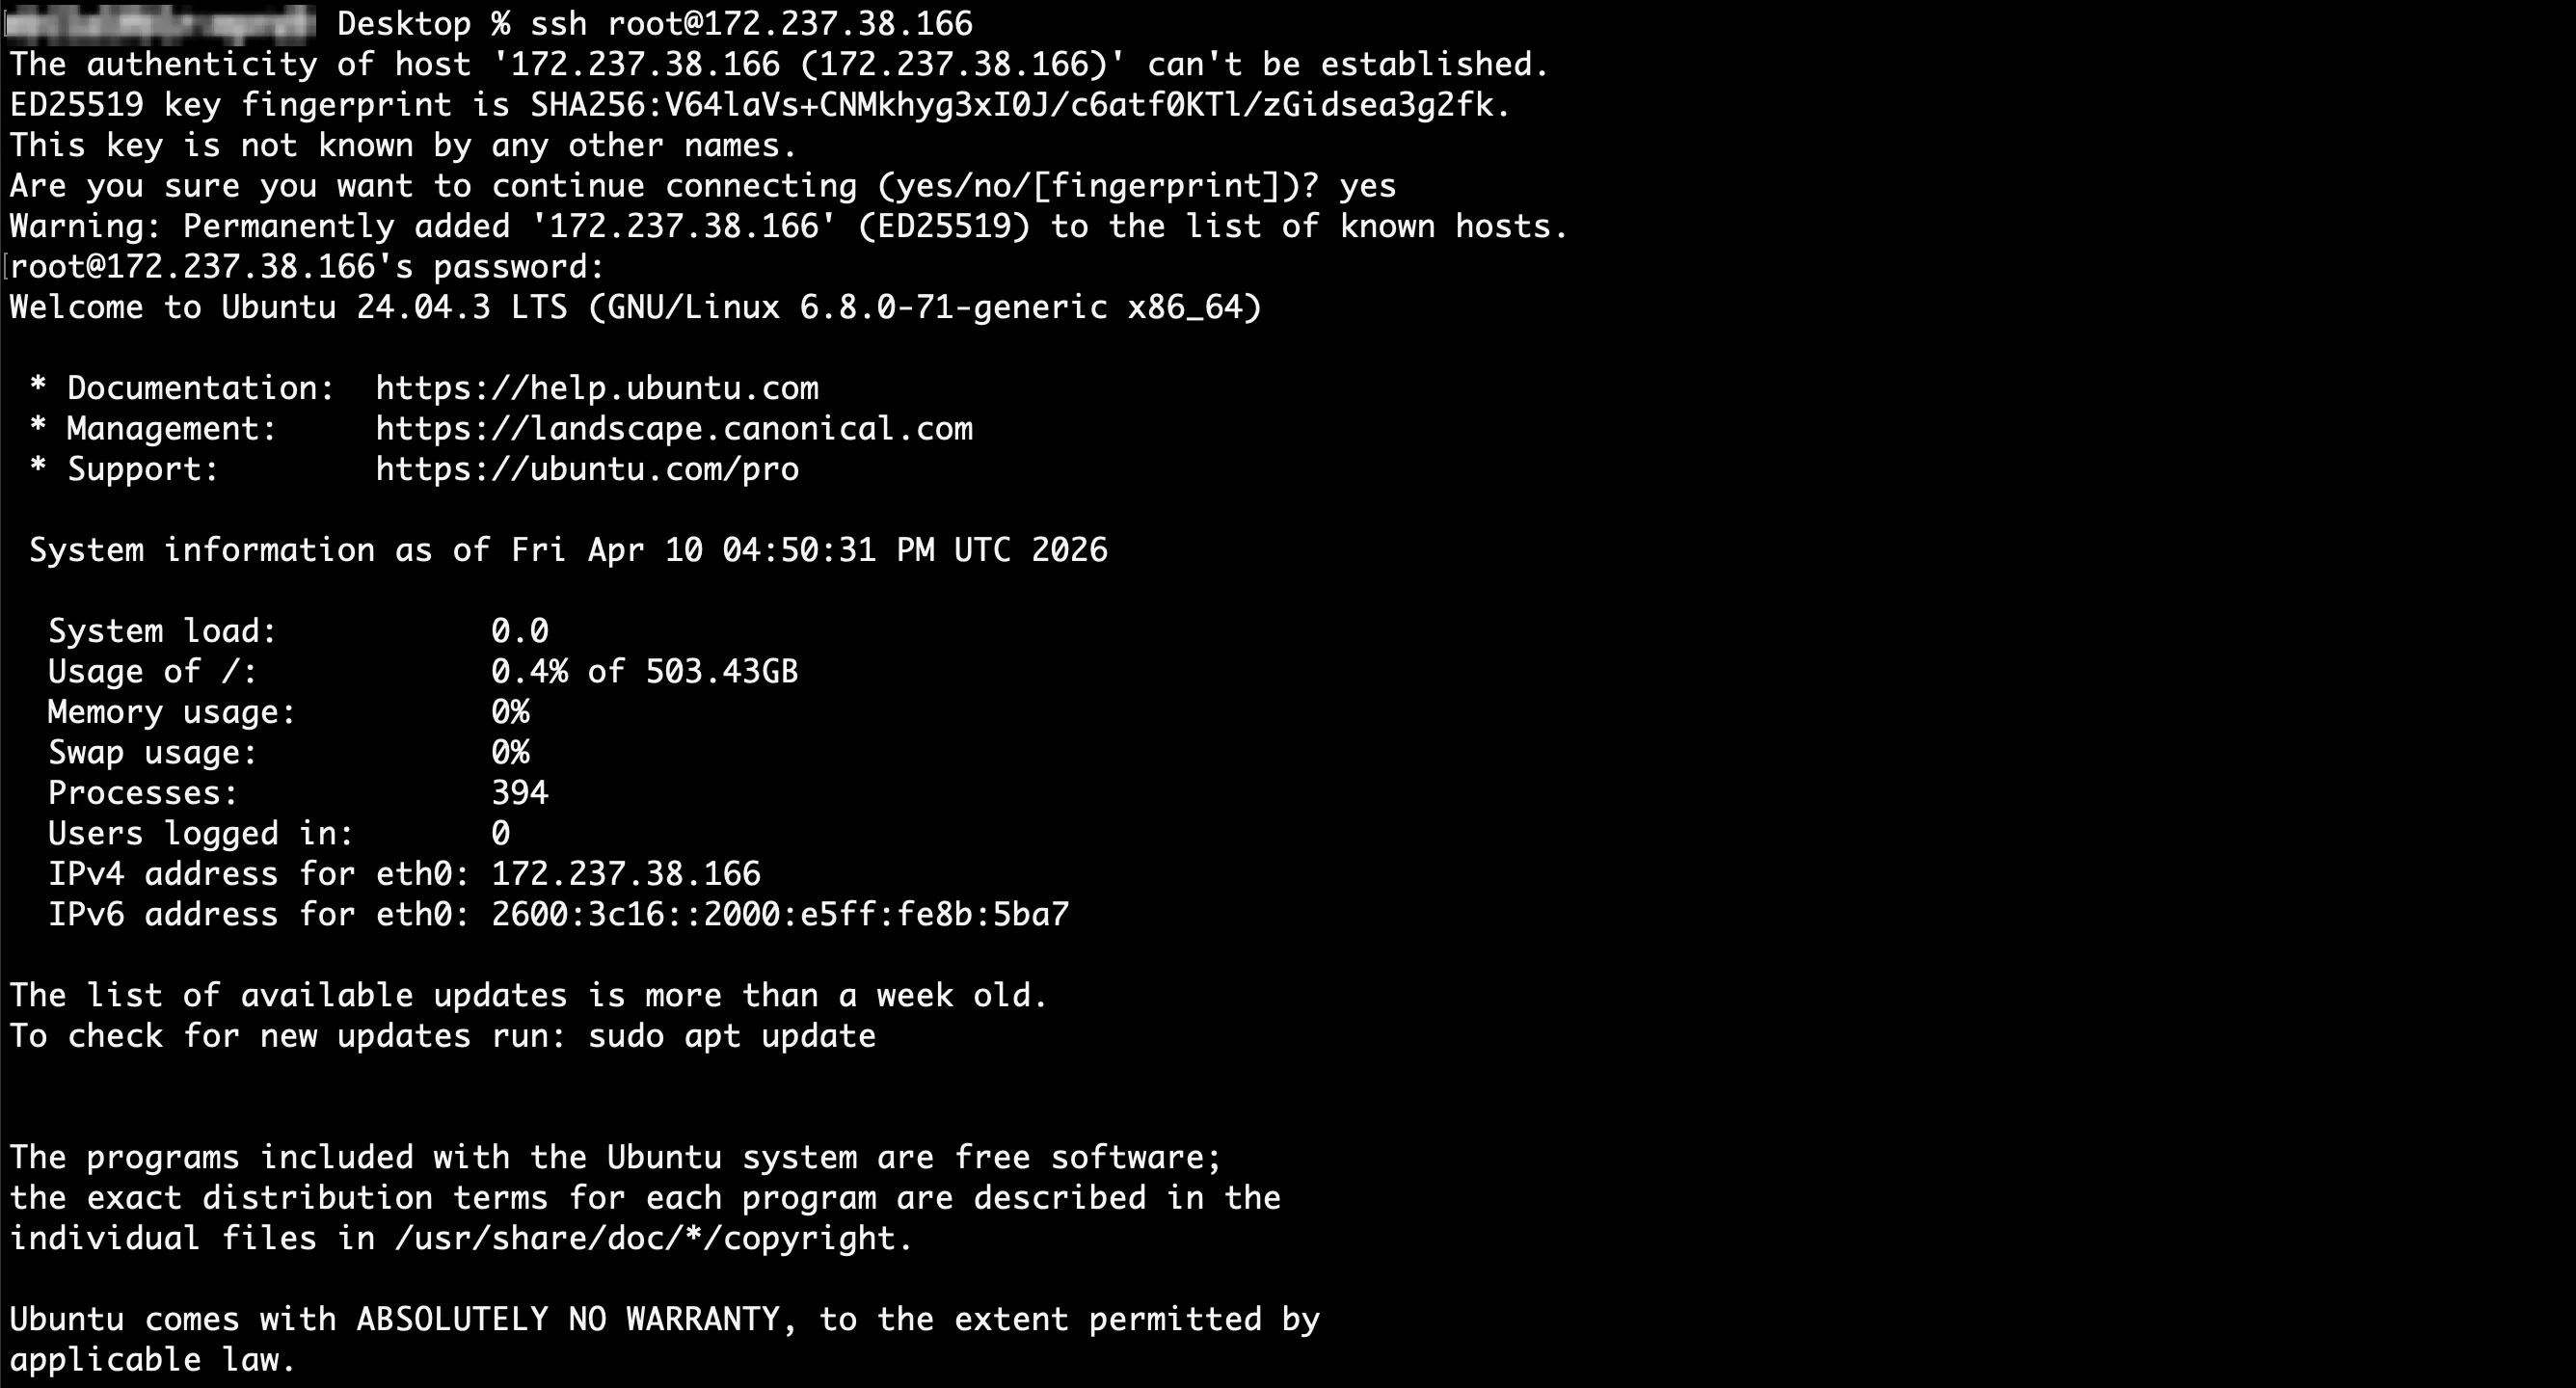
Login via SSH
Install Python v3
sudo apt update
sudo apt install python3 python3-pip python3-venv
Confirm its installed
python3 --version
# Response
Python 3.12.3
Install git
sudo apt install git
Install Python3 venv package
sudo apt install python3.12-venv
Create and activate virtual environment
# Create a virtual environment named comfy-env
python3 -m venv comfy-env

# Activate the virtual environment
source comfy-env/bin/activate
Install Comfy CLI
pip install comfy-cli
Install ComfyUI
comfy install
Since we are using an NVIDIA card, run the following command to install CUDA support
# Install PyTorch with CUDA support
pip install torch torchvision torchaudio --extra-index-url https://download.pytorch.org/whl/cu130
Install NVIDIA GPU and CUDA drivers
# 1. Install ubuntu-drivers utility:
sudo apt-get update
sudo apt-get install ubuntu-drivers-common -y

# 2. Install the latest NVIDIA drivers:
sudo ubuntu-drivers install

# 3. Download and install the CUDA toolkit from NVIDIA:
wget https://developer.download.nvidia.com/compute/cuda/repos/ubuntu2404/x86_64/cuda-keyring_1.1-1_all.deb
sudo dpkg -i cuda-keyring_1.1-1_all.deb
sudo apt-get update
sudo apt-get -y install cuda-toolkit-13-1

# 4. Reboot the system to apply changes
sudo reboot
Once the machine is rebooted confirm NVIDIA drivers are installed
nvidia-smi
Response should look like this
+-----------------------------------------------------------------------------------------+
| NVIDIA-SMI 580.126.09             Driver Version: 580.126.09     CUDA Version: 13.0     |
+-----------------------------------------+------------------------+----------------------+
| GPU  Name                 Persistence-M | Bus-Id          Disp.A | Volatile Uncorr. ECC |
| Fan  Temp   Perf          Pwr:Usage/Cap |           Memory-Usage | GPU-Util  Compute M. |
|                                         |                        |               MIG M. |
|=========================================+========================+======================|
|   0  NVIDIA RTX 4000 Ada Gene...    Off |   00000000:00:02.0 Off |                  Off |
| 30%   34C    P8              4W /  130W |       2MiB /  20475MiB |      0%      Default |
|                                         |                        |                  N/A |
+-----------------------------------------+------------------------+----------------------+

+-----------------------------------------------------------------------------------------+
| Processes:                                                                              |
|  GPU   GI   CI              PID   Type   Process name                        GPU Memory |
|        ID   ID                                                               Usage      |
|=========================================================================================|
|  No running processes found                                                             |
+-----------------------------------------------------------------------------------------+
Since we rebooted, you’ll need to run these again
# Create a virtual environment named comfy-env
python3 -m venv comfy-env

# Activate the virtual environment
source comfy-env/bin/activate
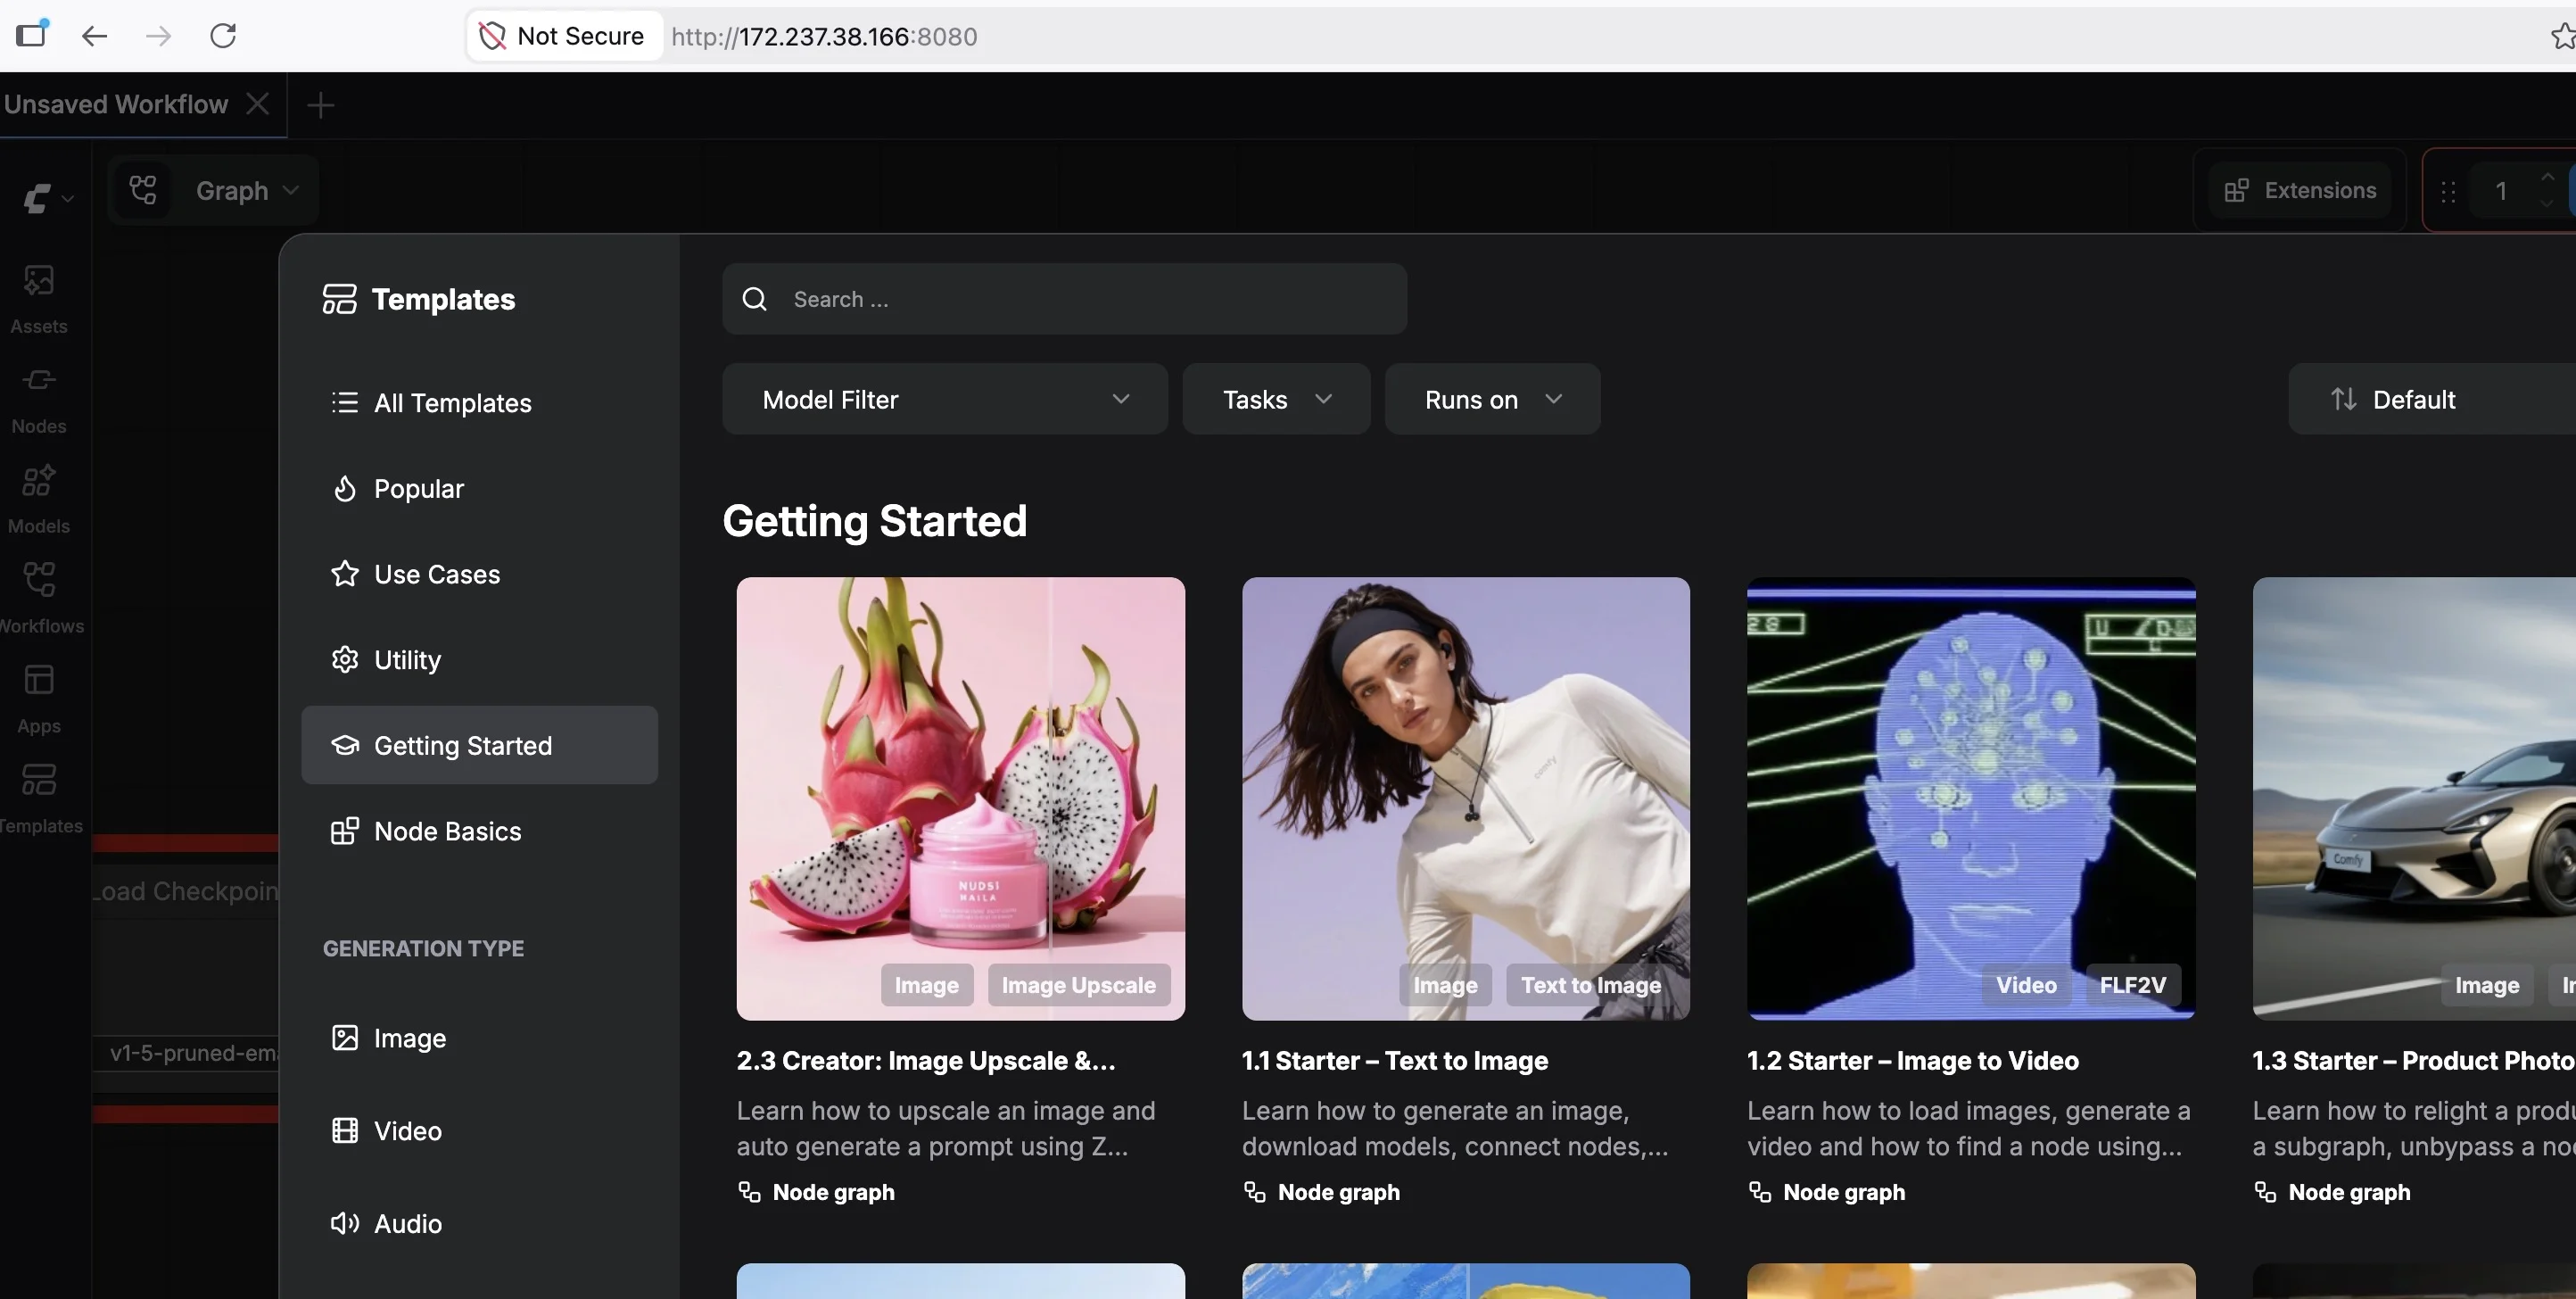
Launch ComfyUI
comfy launch -- --listen 0.0.0.0 --port 8080
ComfyUI is up and running
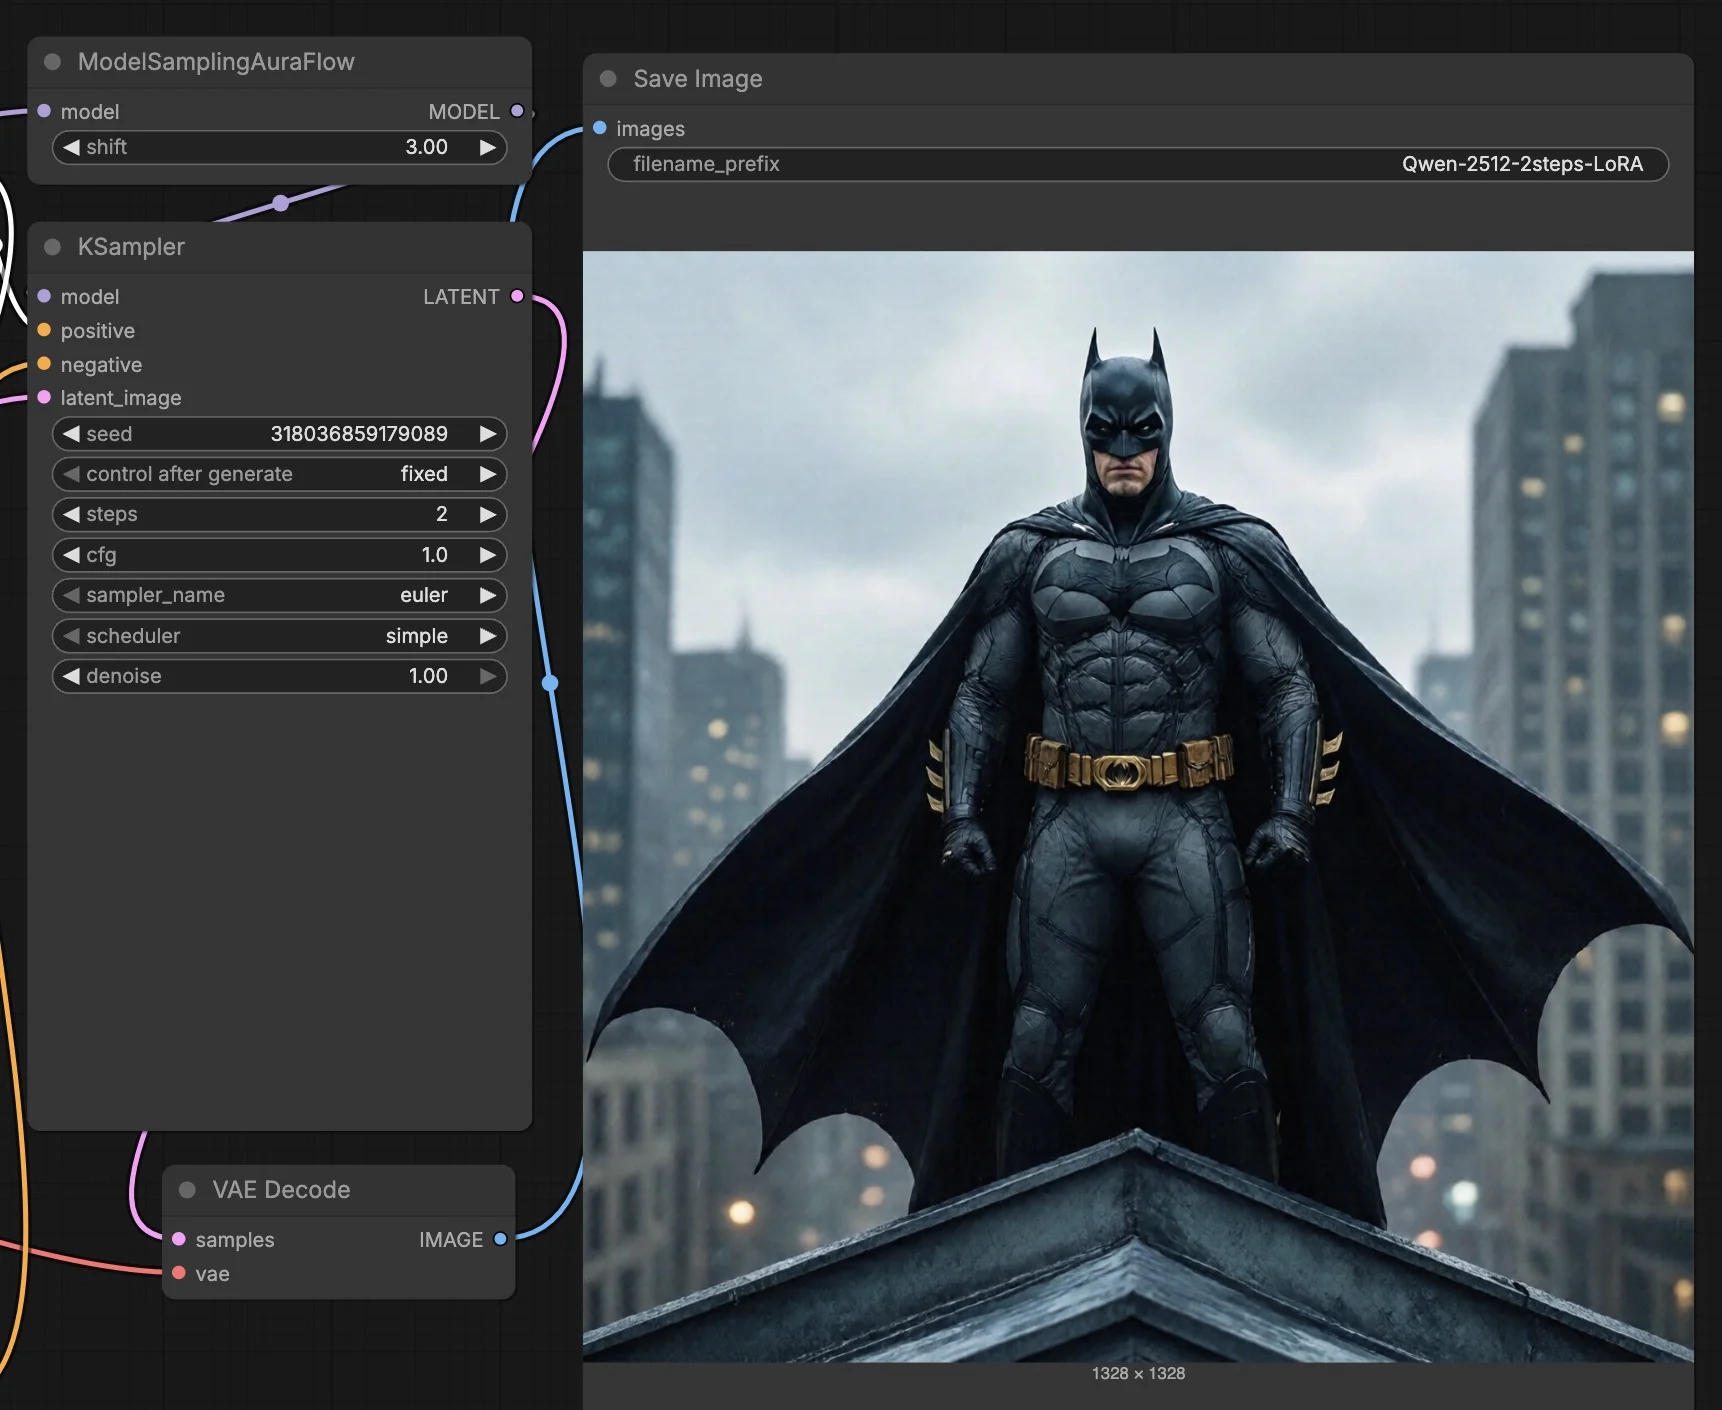
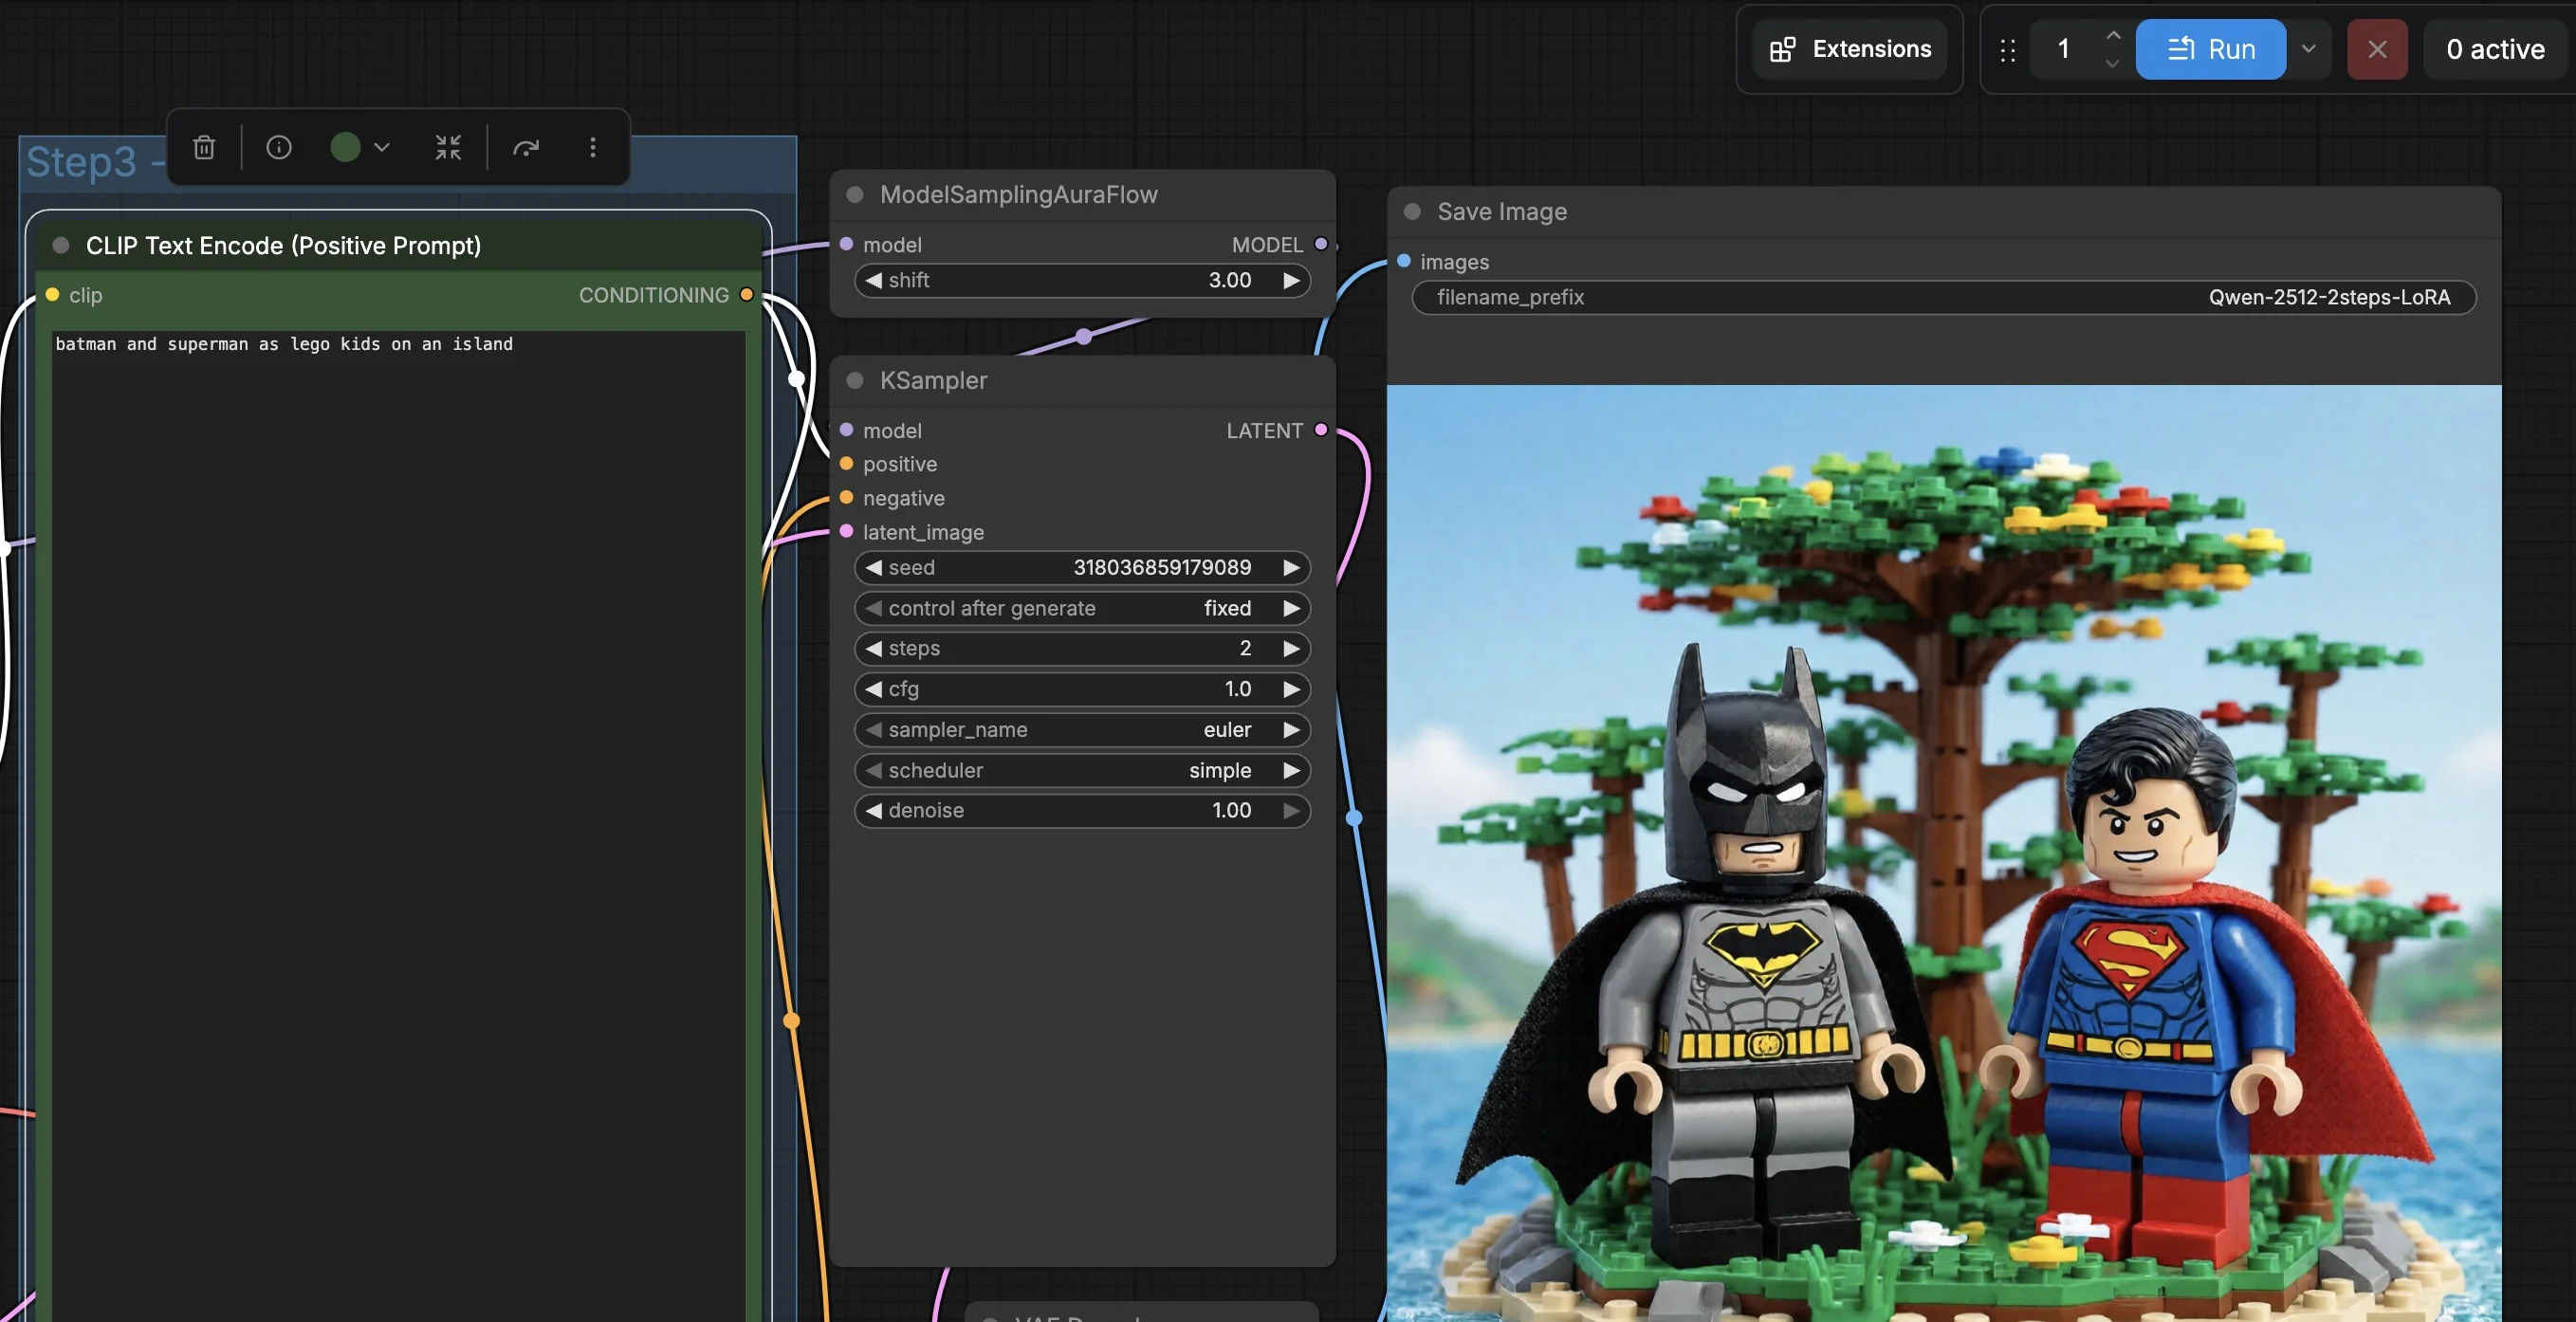
For this demo lets run text to image generation using Qwen 2512 model, this would require us to download the respective model files into the model folder -
cd /root/comfy/ComfyUI/models/
A sample model download
wget -P diffusion_models/ *URL*
Had to kill the ComfyUI process to download Qwen 2512 model files, bringing it back up now
comfy launch -- --listen 0.0.0.0 --port 8081
The Qwen model has been loaded, processing the following prompt “batman and superman as lego kids on an island”
AND the RESULT is quite impressive, snapshot below.
With this we come to the end of this blog, hope you enjoyed reading this one.